PNG / JPEG
Raster = pixels
When you zoom in far enough, the edges become blocky because the image is made of tiny squares.
Watch the complete teacher demonstration first. Then choose one of the five images and create your own SVG.
Welcome to VectorLab. In this tutorial I'm going to show you how to take an ordinary image and turn it into a vector graphic that you can eventually use for projects like laser engraving or CNC routing. I've broken the process into short videos that demonstrate each step. When you click on a step it opens up with the video and the written instructions underneath. You can also close a step and return to it whenever you need as a reminder. Once you've reached, once you've watched the videos you'll choose one of the five images provided at the bottom of the website and work through the process again yourself. You can return to any video or written instructions whenever you need help. After you've completed your first vector you'll be ready to choose an image of your own and follow the entire process through again. After that you will have a vector image ready for your next project.
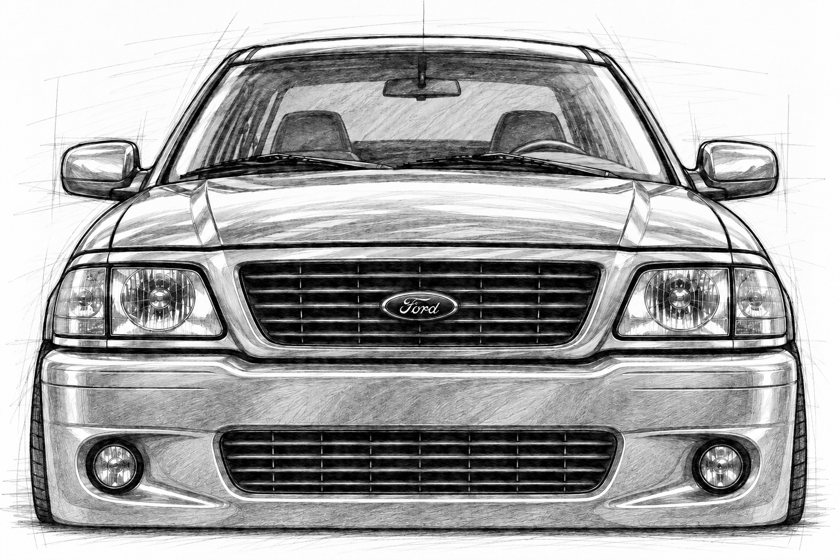
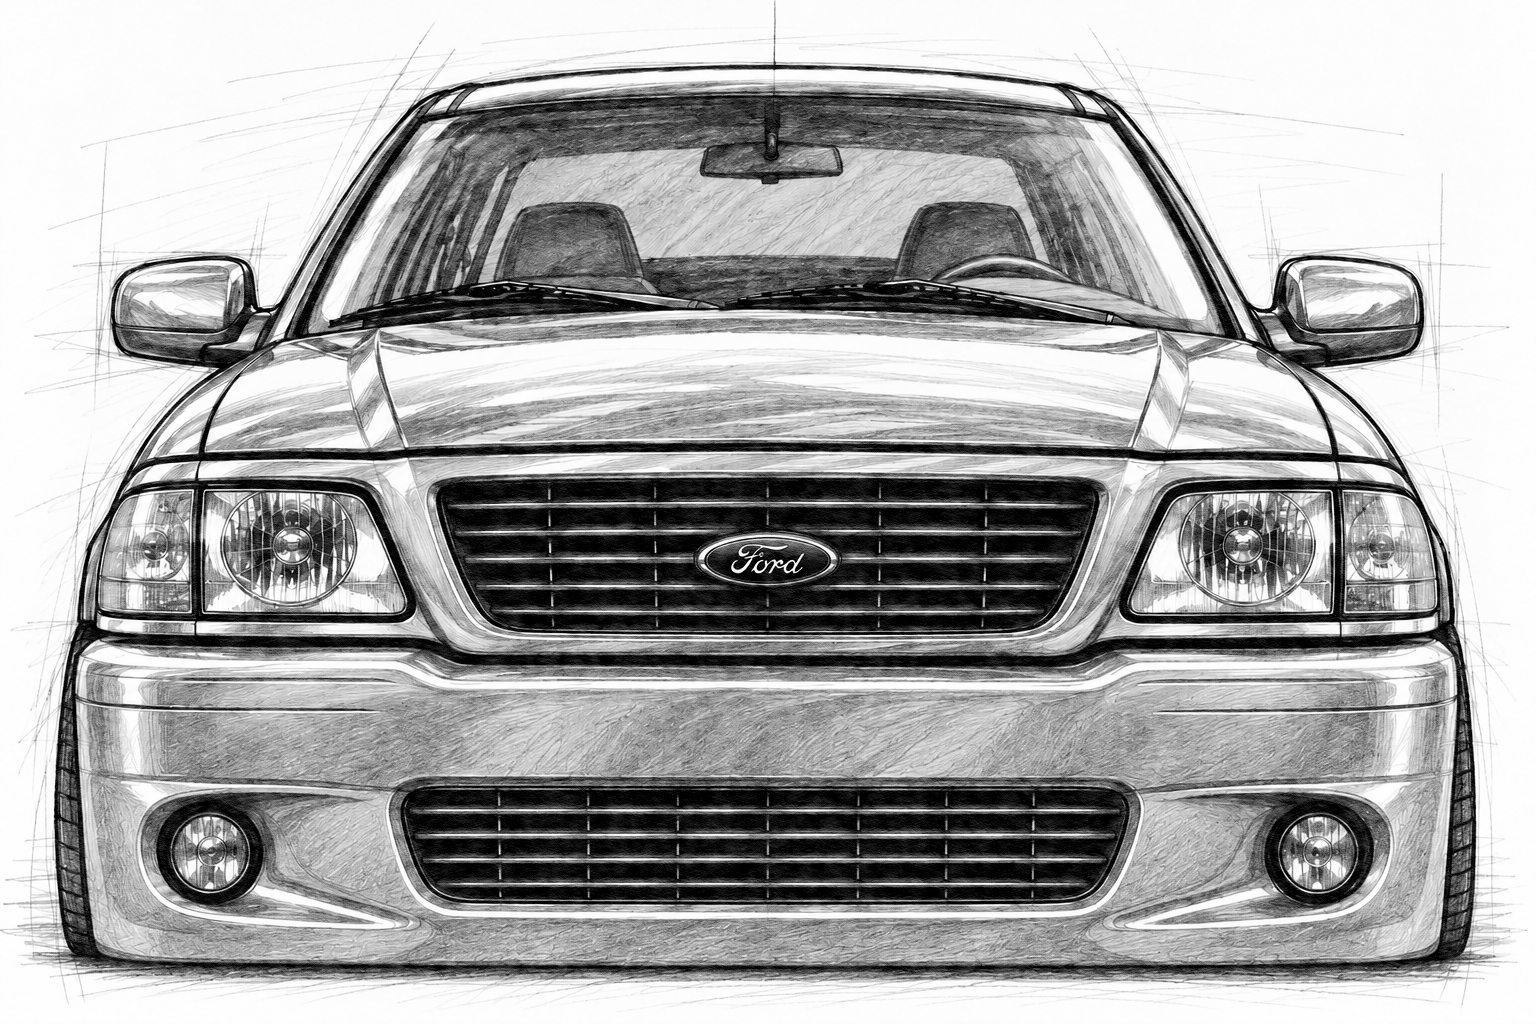
This is the image I use to show the process. In Video 2, I demonstrate downloading it from this page. After watching the whole series, you'll choose one of the five faces below for your own practice. If the button opens the image, right-click it and choose Save image as.
Download the teacher PNG ↧A regular PNG or JPEG uses pixels. A vector uses editable paths. Those paths are useful when a laser or CNC program needs to follow an outline accurately.
When you zoom in far enough, the edges become blocky because the image is made of tiny squares.
Nodes and paths can be adjusted and enlarged without turning into blocks of pixels.
Your SVG can become the starting point for future projects. The laser and CNC operations come in another lesson.
A design becomes carving geometry after the machining setup is completed.
Watch a CNC wooden sign project ↗A clean graphic can be used to personalize drinkware with additional machine setup.
Watch laser engraving on cups ↗Open each step and watch the video in order. I'm using my truck as the example. Don't start your own image until you've watched the complete series. Later, return to any step for its short instructions.
If you can’t find the folder later, open File Explorer and choose Desktop from the left side.
Alright, before we get started, we need to keep somewhere to keep our files. Right-click on your desktop, select New, then Folder, then rename your new folder VectorProject with your name.
Your download might appear at the top right of your browser or in the Downloads folder. Students choose one of the five faces after watching all the videos.
After we open the VectorLab training website, you will find five images which you can see here. Those are downloadable images, but first I want you to follow the whole tutorial watching how I do this. First thing I want you to learn is how to download the PNG. So here is my teacher demonstration PNG which is my truck I have built over the years. So you just click on the download PNG to get you started. You can see it shows up here. We're going to just close this for now. I want you to come down and you're going to find your downloads folder. Downloads. So here is your teacher demo. This is our file. Now push and hold Ctrl + X. That is to cut. We're going to cut that file from its download location and we're going to move it to our VectorLab folder and that's Ctrl + V when you open your folder. We'll paste.
Convert this image into clean black-and-white outline art suitable for vector tracing.

Preserve the original subject, proportions, perspective, and recognizable features.

Draw only smooth, thin, continuous black outlines on a pure white background. Every black line must represent the edge of a feature, never shading or a filled area.

All enclosed spaces, openings, and areas between lines must remain completely white, regardless of how dark they appear in the original image.

Remove all shading, textures, sketch marks, gray tones, and solid fills.

In detailed or closely spaced areas, use fewer, thinner lines with clearly visible white gaps wider than the black strokes. Remove duplicate outlines and unnecessary interior lines while preserving the recognizable shapes.

Do not add or change features.

Produce one high-resolution PNG with sharp, clean outlines.
If the AI image has large black fills or changes recognizable details, compare it with your original and try again. Avoid uploading private pictures or someone else’s work without permission.
Before I convert my image into a vector, I'm going to use AI to clean it up. Images with shading, rough lines, or too much detail could be difficult to trace in Inkscape, which is the program we'll be using. I've developed and tested an AI prompt that you can copy directly from our website. It's designed to turn different images into clean, black and white line drawings that are easy for the program to trace. I'll upload my image, copy the prompt, and paste it into the AI program. Once it's finished, I'll check that the important details are still there and that the lines are clean. Then I'll download my new PNG and save it in my vector project folder ready for Inkscape.
If Inkscape is not installed on your computer, use the classroom installation or ask your teacher where to access it.
Now we're ready to use Inkscape. Open your start menu and search for Inkscape. Click on the program to launch it. Once it opens, we're ready to bring in our image.
Make sure you select your cleaned PNG, not the original picture or an earlier version.
Now we are ready to import our lineart.png into Inkscape. To do so, we'll have Inkscape open and ready. Double-click on Browse for other files. Go to Desktop and find your folder, Vector Project Doug. Click on our lineart image. Click Open. Image Import Type Embed. Image DPI. From File. Image Rendering Mode. None. We're going to keep everything the same. Click OK. And there it is.
If you need to fit the page to your picture, see File → Document Properties and the resize-page-to-drawing or selection option. This was included with the workspace demonstration.
Let's have a quick look around the Inkscape program. Right now, the image is still in a .png or a PNG file, which is made up of pixels. We're going to use the Inkscape program to convert those pixels into vector paths that we can use to eventually make a project image for a CNC router or laser engraver. Before I start, I want to show you a few simple tools. Under File, we have New, in case you need to create a new project. Save, in case you need to save an existing project. Save As, in case you need to save your new project, which is what we will use, is Save As. Save As allows you to create your own name for the project. And to tell it where to save the project to. In our case, we will use our folder that we created on the desktop. Under Edit, we have the Undo button. So if you happen to change something that you don't like, you can undo it. For example, if I delete my truck, I can come into Edit, click Undo, boom, there it's back. If you undo something and you need to redo it, you can click Redo. So here we can redo the delete. There's Cut, Copy, and Paste. So if you needed to cut an image and put it somewhere else, you could cut it there, go to where you're gonna put it, and then paste that image into the new picture. Find Replaced. So if you had lots of words in your image, you could find and replace words. Under View, we have Zoom In, Zoom Out. View, Zoom In, Zoom Out. We have Zoom, you could go to a one-to-one ratio. You could go View, Zoom. I'm gonna zoom out a bit so I can get the whole picture. You have scroll bars on the side and on the bottom to get around in your picture. And if you wanted to manual zoom, you can push the Control button and use your scroll wheel on your mouse. Under Object, you have some editing functions. We're not doing any of that in this particular tutorial. Path, we will be using this Trace Bitmap, which is under Path to trace our vector image. Text, we won't be using anything out of here for now. Filters, again, we won't be using anything out of here for now. Extensions, we won't be using anything out of here for now. But Help, if you need help, there's the Inkscape manual is in here. You can go in and open the manual. There's our tutorials, a beginner's guide tutorial, tips and tricks to get you by. Those are the main tools that you will need in this program for the beginning portion. See you in the next video.
Now that we have our images in Inkscape, I want to show you something about how this image is made. Right now my truck is still in a .png file which is called a raster image. Raster images are made up of thousands of tiny squares called pixels. Now we used AI to smooth our lines so when you scroll in you can actually see how they're kind of fuzzy. In a non-smooth line it would be like little tiny squares on there, just like pixels if you've seen the movie Pixels. This is one of the reasons that we're converting our image into a vector. Instead of working with those pixels and those blurry lines, we'll have an editable path that we can enlarge and adjust without losing their sharpness. In the next video I'll open up the trace bitmap tool so we can start turning these lines into editable paths.
Nothing appeared to change? The new vector may be sitting exactly over the PNG. Try moving the selected top image.
Now we're ready to convert our image. First, click on your image to select it. Then at the top of the screen, under Path, you'll find Trace Bitmap. So you see over here, Trace Bitmap. We're going to keep all of these factory defaults the same, all through here. This will be our live update. So this is what our trace vector image is going to look like. Notice how it pretty much looks the same. The difference is that all of the white that is in our original image is going to be kind of like negative air space. So if you wanted white in a picture or something, you actually have to go back in there and fill it back in using our tools, our fill tools and stuff. So we're ready. We're going to click Apply. Click Apply. The image screen goes black and that is because our bitmap is traced over top of our original image. You can just double check here. We'll just grab this. So click on your image and pull it to the right. See how there's two of them? We've successfully traced. See you in the next video.
If you see no nodes, make sure you have the traced vector selected, not the original PNG.
Now that Inkscape has created our vector image, I want to show you a couple of the smaller details between the two images. So all I'm doing is dragging and dropping side by side, put them as close as I can together, and I'm going to zoom in. Ah, you see we can tell from zooming in already which one is the vector image and which one is our original line art image. Remember I talked about those sharp lines? See how much we can see the difference. See how sharp they are? We need those for our CNC machines. So what we're going to do is we need this image. This is a vector image. If you press N and click on the image, all these little bumps will show up. Those are called nodes, and those are our editable nodes that we were talking about earlier. That's how you edit your vector image. See you in the next video.
Deleted the wrong image? Press Ctrl + Z right away, then check which object has nodes.
Now that we've created our vector image, we no longer need the original png image dot png in our drawing. So select the original image and press delete. To get back to your image selection screen, you have to push F1. So push F1 and you should be able to pick either image up and move it around. That means that you are in the right selection phase. So select on the png image and hit delete. Gone. Then you can grab the original image, drag it back onto your sheet. If you're unsure about whether you have your png image or not, I'll just take this back real quick. You can look at it and you can push N, which takes you into like finding your nodes. Click on this image and see all the bumps return. And on here, no nodes. When you click on it, no bumps. Bumps. No bumps. So again, F1 and then you can click on this one and you can either push delete or you can right click and go to delete. Same thing. Come back over here. Grab your image. Grab the image. Drag it back onto your paper. Plunk it there. And there we go. We are down to only our scalable vector image now.
Try one small change at a time. If you want to experiment freely, save a backup copy of your SVG first.
One advantage to vectors is that we can adjust their shapes. So select the vector, press N, and your nodes should pop up. Same thing as we showed before. Those bumps, again, they're called nodes. They control the shape of the vector paths. Watch as I move the nodes around to adjust the shape. First thing I'm going to do is to zoom in. So control, scroll wheel, and use the sliders. I'm going to scroll some more, move over, slide down. Now I'm going to focus on how this hood line does not line up with this headlight line very well. So I'm going to actually just grab each of these nodes and slide them over a little bit. And here, this looks like it's going to come over some more. Here, here, just add a little bit. See these little balls? They change the curvature of the way it's aimed. Same thing here. Pull this all back just a little bit just to fix the edges. This looks like it's going to come back a little bit. This is going to come out a little bit more. This is going to come out a little bit more. This is going to come over a little bit more. Whoops, I don't want to do that. I only want this one. It's got some funny lines going on. That's there, that's there. So that's kind of better. And escape, kind of lines up better, hey? The point was to show you that you can change it. So if you hit areas that you don't like, you can adjust them, fix them, play around with it. There's some different tools. If you make a mistake, you can just undo it. And if you don't like it, then don't save it and just start over again.
Keep this SVG in your Desktop project folder. We will verify the actual vector paths in Step 13.
All right, now that our vector is finished, we need to save it. To open file, we're gonna come down to save as, make sure that we're in our desktop folder. So desktop, find your folder, Vector Project Doug, and we will change the name of this to Lineart Vector, and we'll save it. And you can see that it has a .svg file now. Your vector image is now saved.
Can't see nodes? Select the artwork, press N, and check that you opened the finished SVG rather than the original PNG. If your selected object is still a bitmap, go back to the tracing step.
All right, next step, we need to make sure that our vector image saved correctly. So let's close down Inkscape, reopen it here, browse, double click, desktop, find your folder, Vector Project, line art image vector, open, here's our image, F1, we can select it, and N, there's our nodes. So there we are, we're good. Okay, so that concludes the end of the guided tutorial. Now begins a little bit of a self-guided tutorial. So what I want you to do is to go back through your original tutorial, you've watched me do it now. All of the steps are below here. Watch the complete process. So this is the same steps that we just went through. Everything will be there. I want you to start right from the beginning. Here are the five images for you to download. So down here, right at the very bottom of the screen, I want you to pick an image, to download an image, and then follow all of the steps of the lab through again, using one of these happy face images below. When you are done that, then go online, find your own image or upload an image, whatever you wanna do, and follow the process through again. So by the end of this, inside your own Vector Project folder, you should have two or three, which however many you feel like doing, vector files that are fully editable and ready for uploading into some sort of CNC program, whether it's LightBurn, if we're doing some laser burning onto cups or coasters or whatever we might be doing it on, or maybe onto the CNC router program for creating a board or a plank or something with a special picture or image on it. Maybe you wanna build a little key chain on there. We can decide that later. This is just the beginning steps to teach you how to create vector images that we need for those programs. Now, get at her and have fun.
After watching the full demonstration, choose one of these five images. You will use your choice, not my truck, to create your first vector. Every download is the original PNG. If a download opens as a picture instead, right-click the picture and choose Save image as.





Once you've downloaded your face: save it in Desktop → Vector Project, then use the same AI and Inkscape steps you watched. Reopen any video or written instruction when you need a reminder.